April 10, 2017

Intro

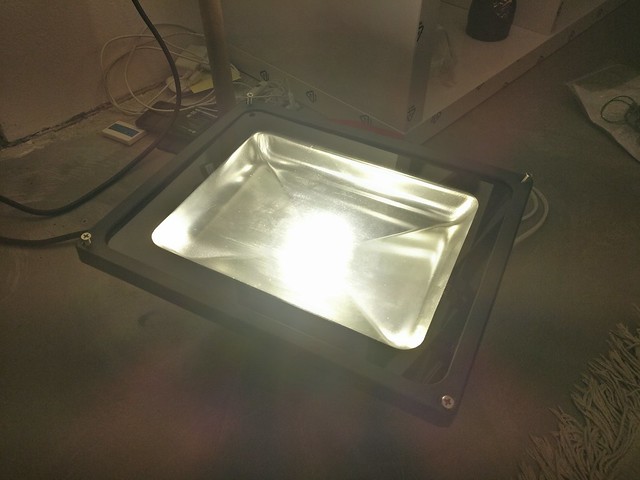
A little over one and a half year ago we ordered a bunch of LED floodlights to improve the illumination situation in our basement workshop rooms for the Repair Cafe events. Prior to those floodlights there were about 12 spotlights each with a 200W bulb. Despite the number and wattage the lighting situation was suboptimal and at each event we had to add four 500W halogen floodlights to reach acceptable work conditions. Totalling at more than 4kW this was quite straining on our power lines, heat up the rooms quite a bit and caused frequent overloads and power outages, especially if other devices with a high power consumption were in repair attempts. So we decided to replace half of the spotlights by 50W LED floodlights to cut down on power consumption and increase the overal illumination. Over a few weeks we evaluated a few floodlights (because not only wattage was important but also that the light color fitted into the existing light situation) and settled on a set of good warm white 50W LED floodlights. The illumination was much better than we imagined and in full setup used only 1.5kW of power. Less than half of the usage for what we can only describe as a near-daylight situation in our rooms. Very nice :-)

Problem

Near the end of 2016 one of the floodlights began acting up and had to be taken out of service. When turned on it was fine for a second or two but after that it began flickering like mad.
VID_20170204_184540


Of course this was unacceptable and while we had to replace it with another floodlight for the time being the concept of the Repair Cafe is to repair broken stuff. And that's whar I decided to do with this one. From the behavior I initially guessed that probably the power supply had broken but as I later found out that was a red herring.

Analysis

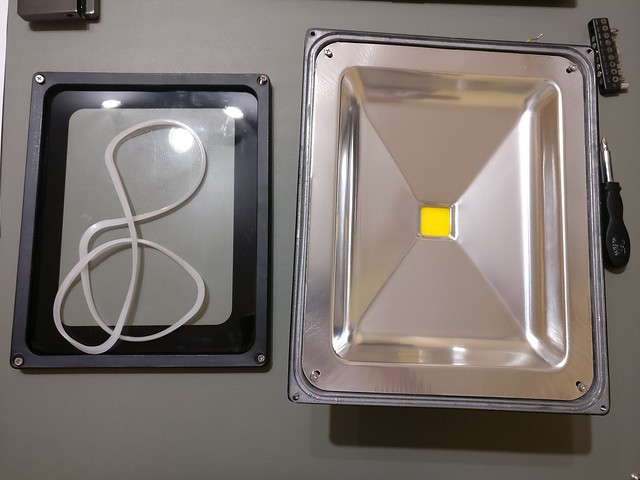
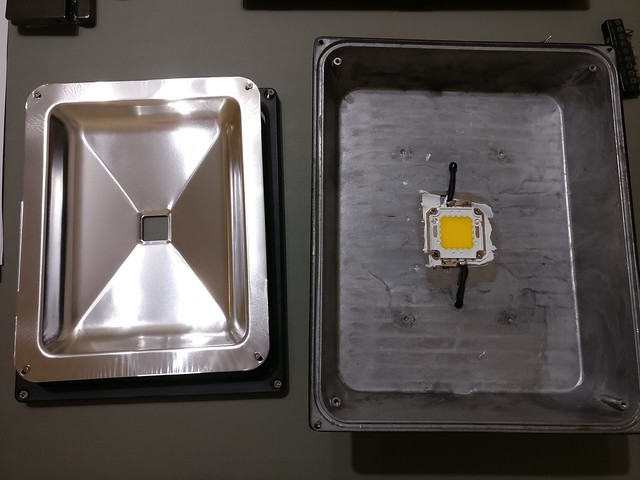
At first I opened the back with the power supply but that did not result in progress as the incoming cable and outgoing ones to the LED element were all isolated and had (without damaging it) no possibility for putting on multimeter measurements. So it had to happen on the LED element itself. Opening the front of the floodlight was also not really an issue. Just four screws at the frame and four screws on the reflector and the LED element with its connectors was accessible.
IMG_20170204_184857
IMG_20170204_185019

On a first glance not too bad and rather clean but upon closer inspection:
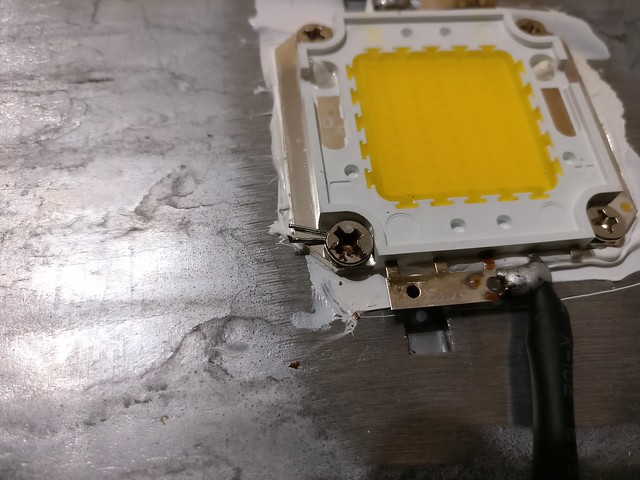
IMG_20170204_185117

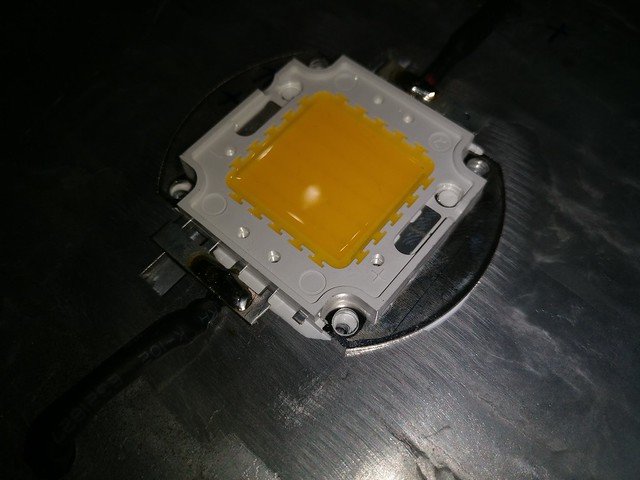
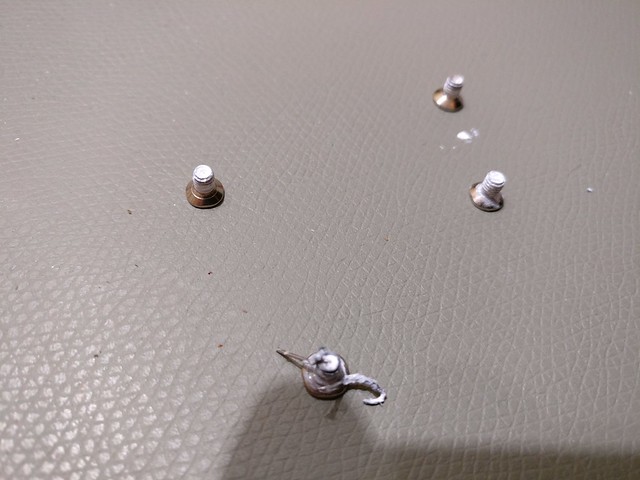
Oh wow, one of the LED elements screws seems to have been messed up during installation and they fixed it by using a piece of wire and some force. Well, it seemed stable so I did not care about it too much. But then I recognized those little gems:

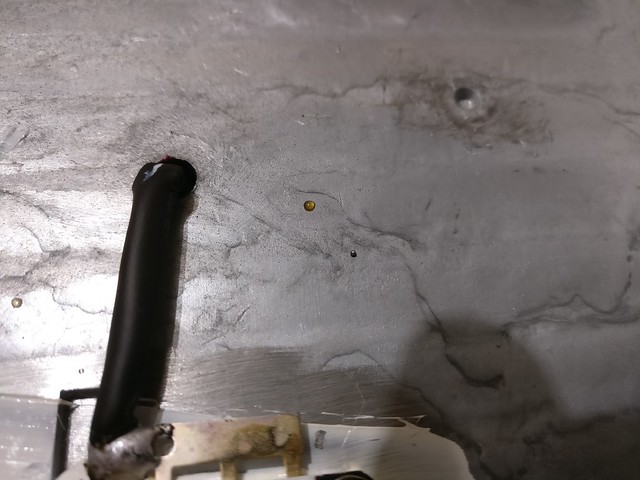
IMG_20170204_185132

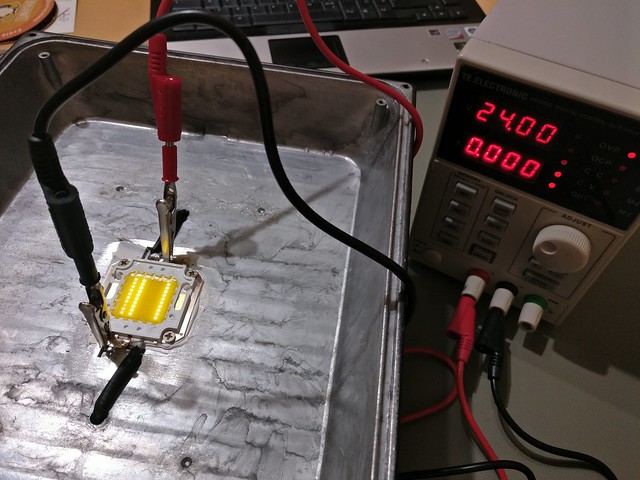
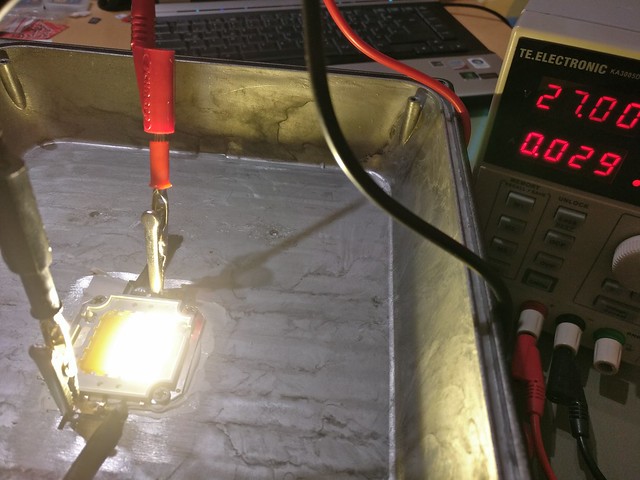
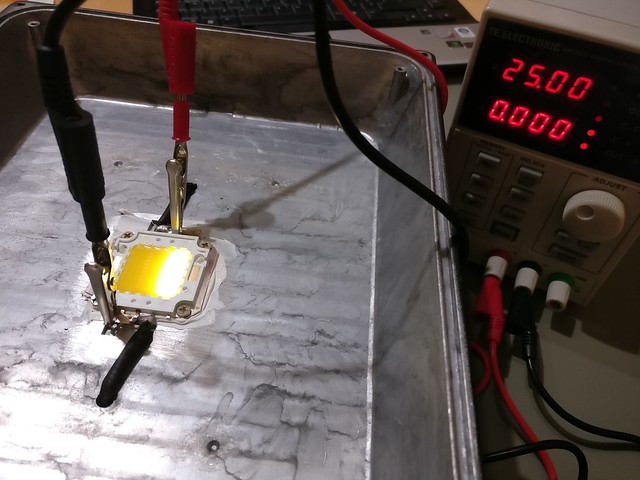
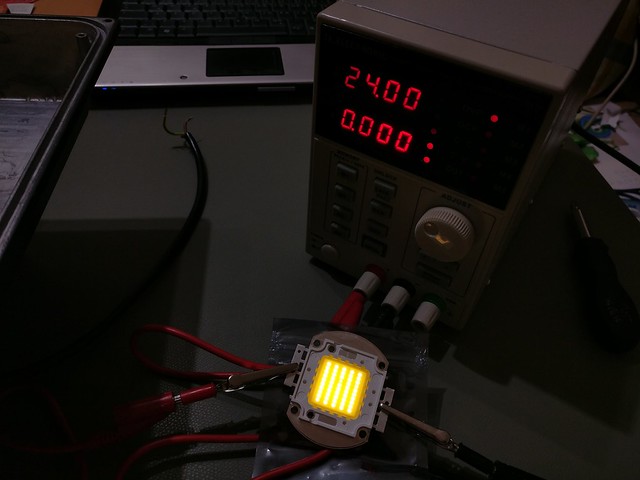
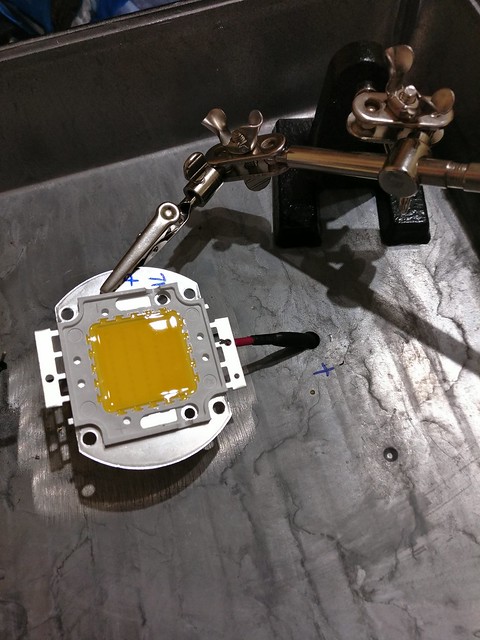
Nice, some solder balls rolling around in the case. Veeeery bad. I cleaned everything out, checked that no shorts were present and re-tested the light. No improvement but I recognized something different. I pulled out my power supply and tested the LED element directly:
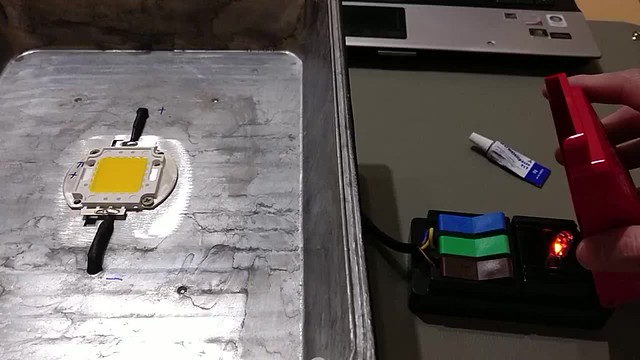
IMG_20170204_190004
IMG_20170204_190205
IMG_20170204_190410

Oh wow, it seemed like the LED element itself was the culprit. It was not visible when the light was plugged in because of the sheer amount of light but when brought up just with minimal supply voltage by an external power supply it became apparent that half of the LED stripes in the element had failed and when brought up to higher voltage also all but one ceased to work. I now assumed that the power supply in the floodlight had some sort of failsafe mode and turned off temporarilly when the LED element drew an abnormal amount of power, causing the flickering.
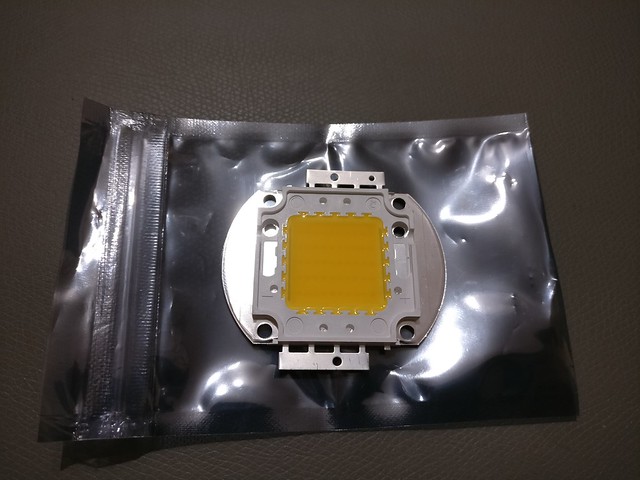
I changed my approach and ordered a 7$ 50W warm white LED element from eBay. All of those have identical dimensions and comparable power supply specs so it was relatively easy to find one. I went for an element with a bit larger metal base. I chose that one to improve the heat distibution to the floodlight case and let the LED element itself work with a bit lower temperatures.
In my experience most LED elements nowaday fail because of problems with heat distribution.

Repair

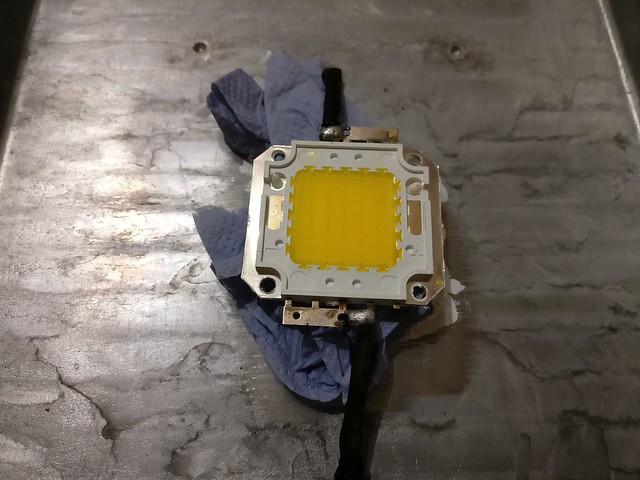
After a week or two the replacement LED element arrived and I could finally start with the repair attempt. After unscrewing the old LED the lapse with one screw during assembly was visible in its whole beauty.
IMG_20170204_190734

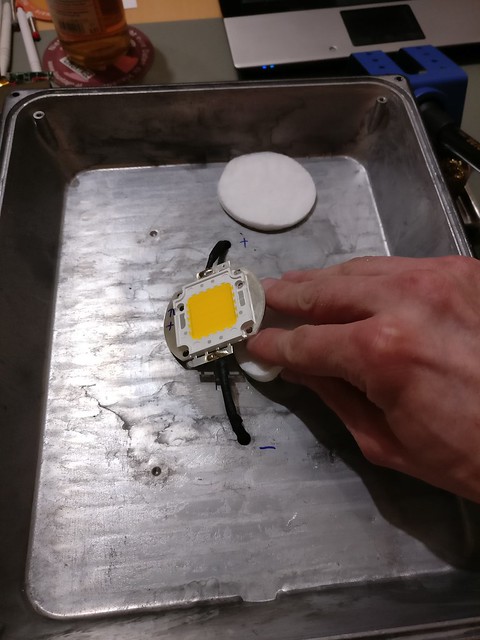
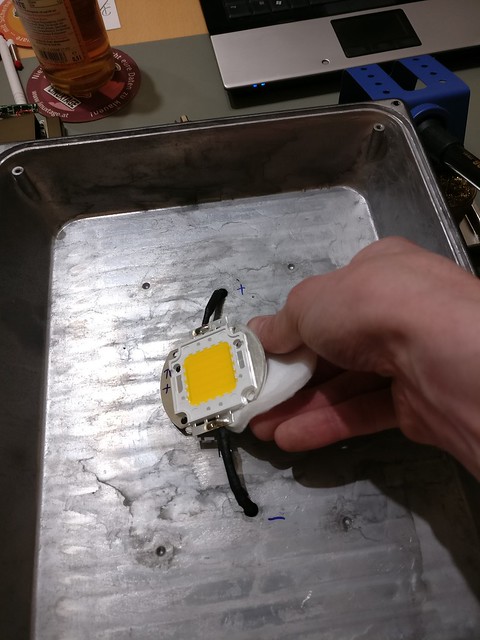
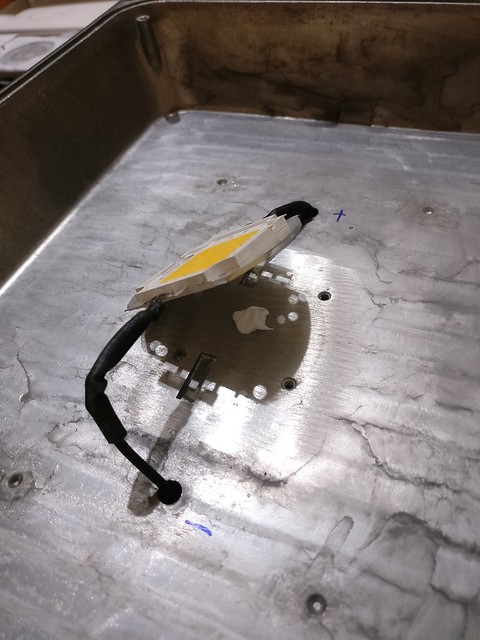
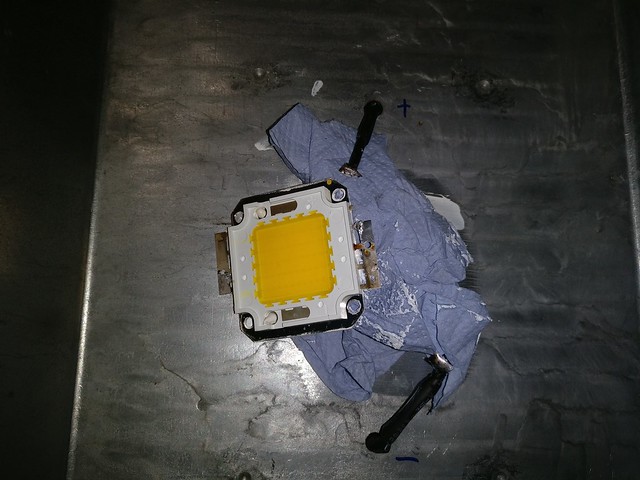
I then began preparing the element for desoldering. Lifting it from the case was important to reduce the heat loss, therefore I lifted the element with some paper.
IMG_20170204_190742

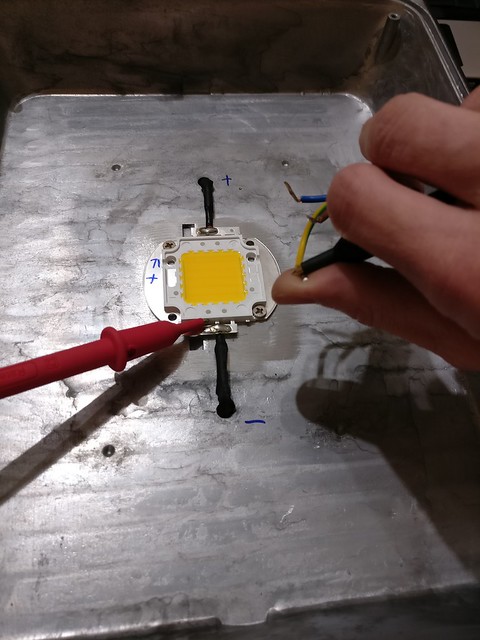
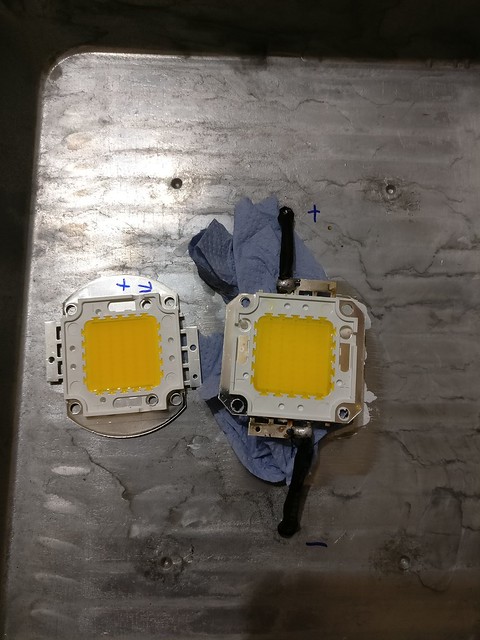
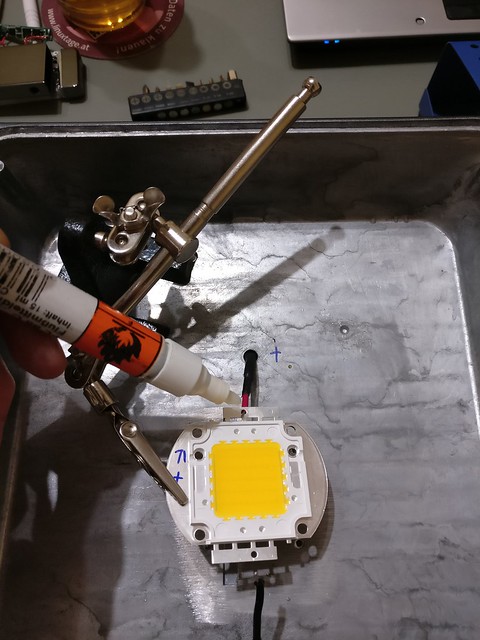
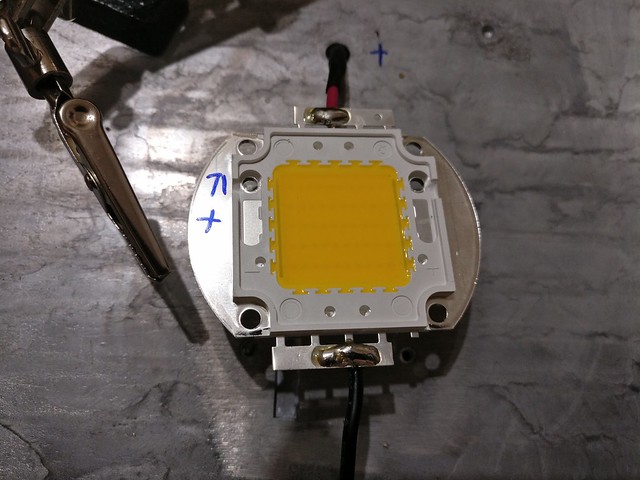
And just before desoldering I remembered to check the new element once more and mark the polarity so that I do not accidentially solder it backwards.
IMG_20170204_190906
IMG_20170204_191050
IMG_20170204_191429

Finally everything ready I fired up the solder station with the largest tip I had around. This took a bit and called for a short break.
IMG_20170204_191809

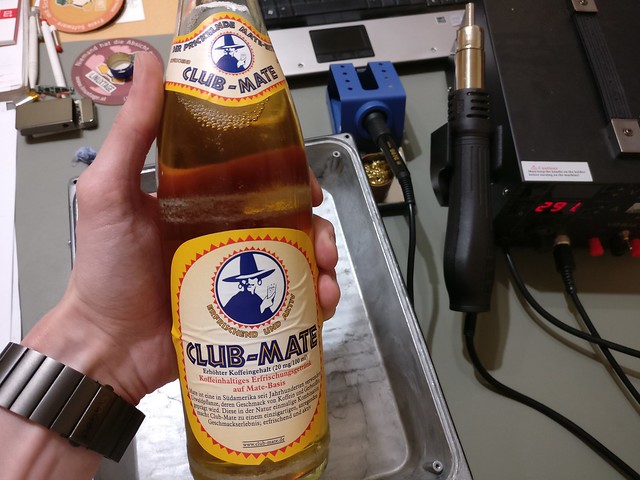
After the Mate the desoldering began and unexpectedly required higher solder temperatures than I expected. The solder was a bit reluctant to come off and I had to turn up to 350°C to get the wires off.
IMG_20170204_192439

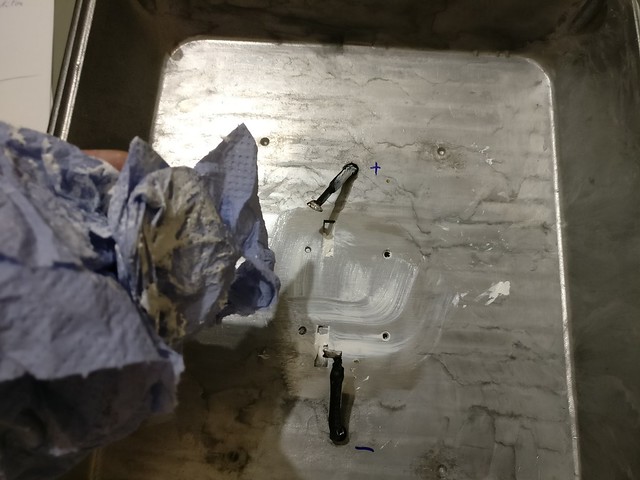
Following the removal also the old thermal compound had to be removed. Quite a mess but finally with lots of paper towels and Isopropanol I got it relatively clean.
IMG_20170204_192750

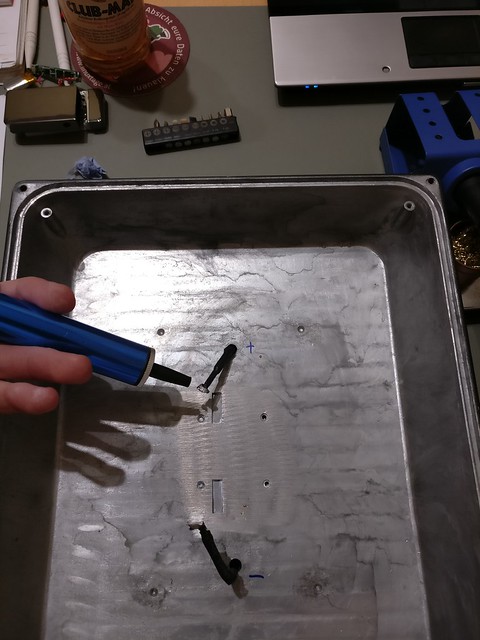
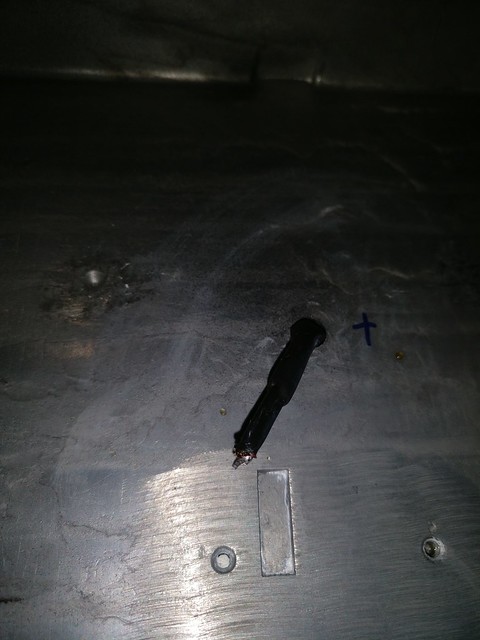
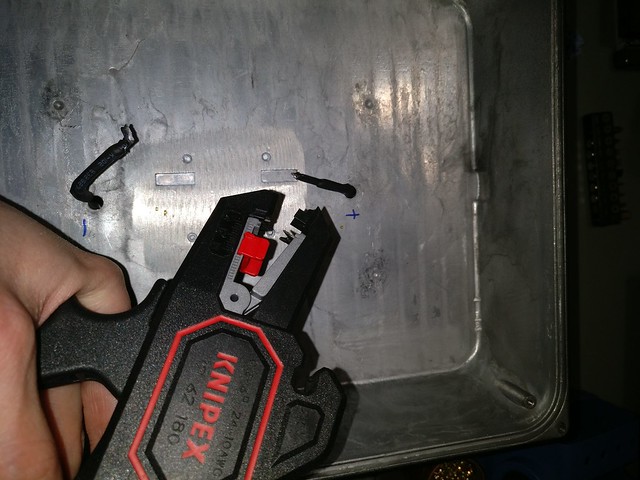
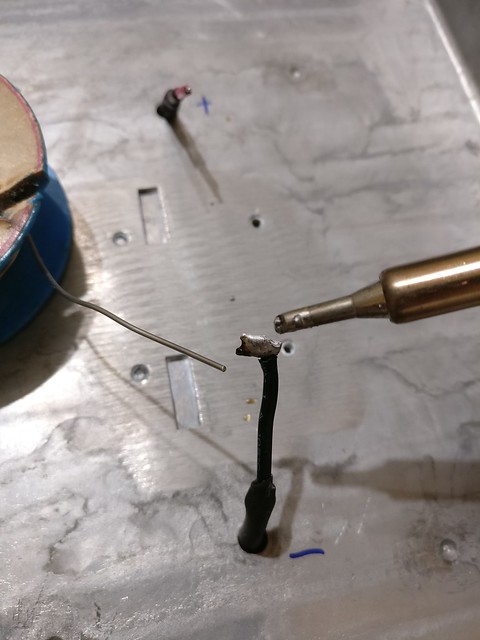
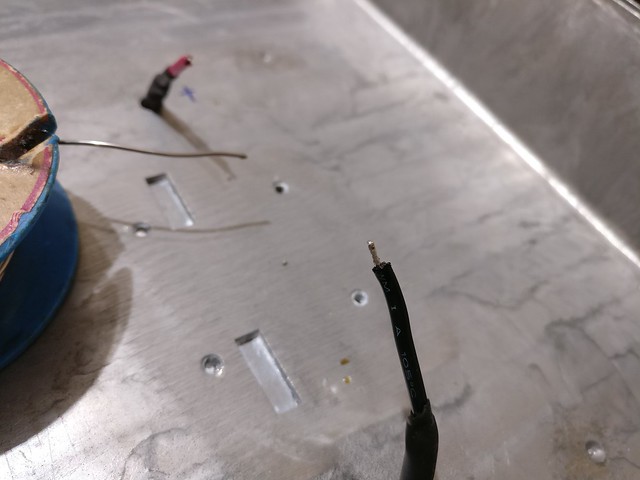
Next up was preparing the wires for the new element. That meant removing all of the prior solder, extending the contacts a bit and tinning the wire tips.
IMG_20170204_193405
IMG_20170204_193736
IMG_20170204_193842
IMG_20170204_194219
IMG_20170204_194421

Followed by the soldering of the replacement LED element. Don't forget to use plenty of flux for proper contacts.
IMG_20170204_194929
IMG_20170204_195055
IMG_20170204_195404

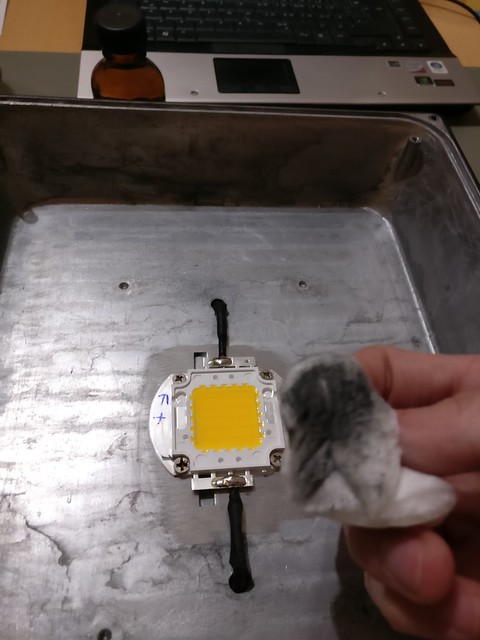
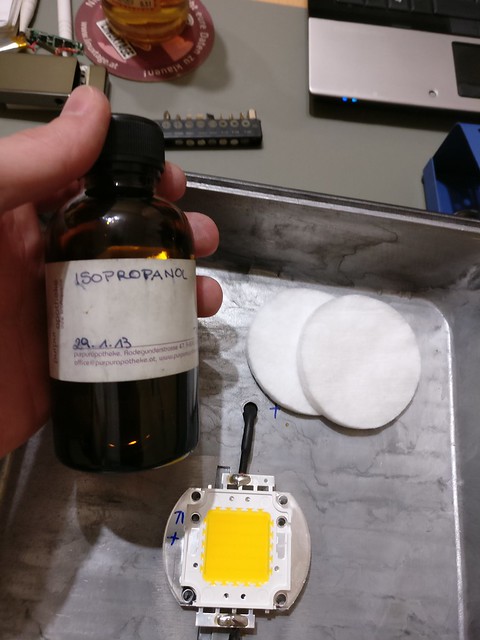
Cleaning the element once more and finishing properly was done. This also included the backside of the LED element, I didn't rely on a clean surface there either.
IMG_20170204_195732
IMG_20170204_195749
IMG_20170204_195803

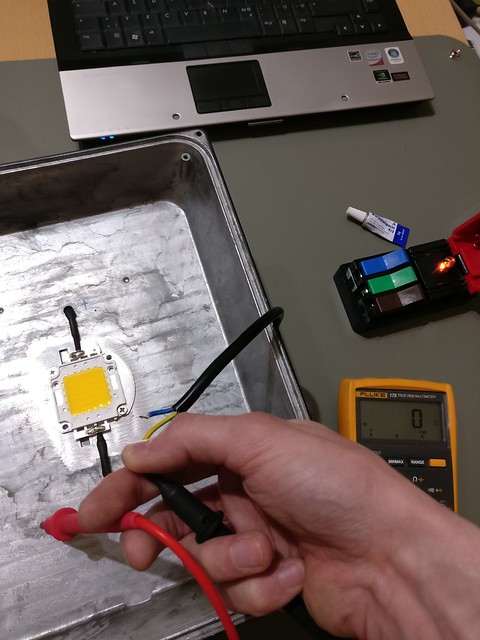
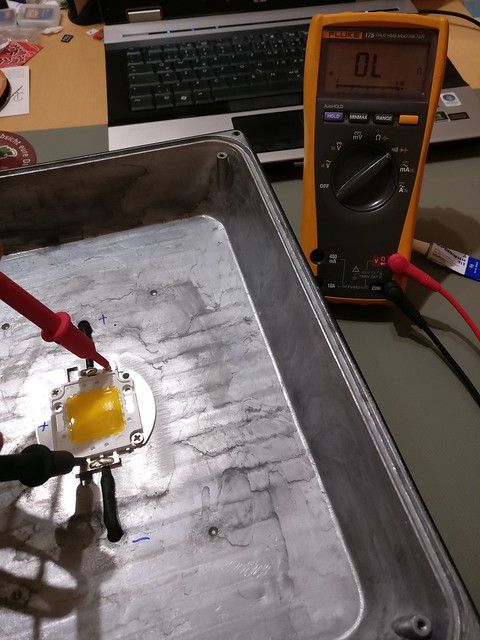
Preparing for the first test after replacement required some additional checks. I visually checked if there were no solder balls around and checked with a multimeter if all connections were ok, earthing was correct and no shorts present.
IMG_20170204_200534
IMG_20170204_200709
IMG_20170204_200754

The first test was done quickly, only leaving the element turned on for a few seconds. There was no thermal compound yet and the LED was not tightly screwed on the case. I expected the heat to build up quite quickly that way and so I had to hurry too. The test was successful. Just during the cooldown of the element I recognized a single LED inside the LED block to be darker than the rest (visible for a short time in the middle of the LED element) and checked visually if it was working and no aparent damage present. Everything looked fine there so I continued.
(ignore the background sound, I was watching some Youtube during the solder job and forgot to turn it off...)
VID_20170204_200935

Properly adding thermal compound and making sure that there were no air traps inside took a bit of patience. For that I put a large drop into the middle of the case and lowered the new LED element with circling motion. When it was down I pressed with a bit of force until the thermal compound was spread visibly on all edges of the LED element.
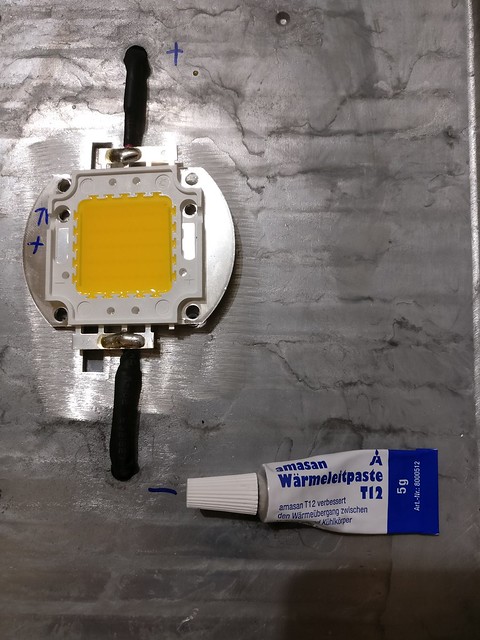
IMG_20170204_201141
IMG_20170204_201301
IMG_20170204_201623

Screwed everything tightly, also re-adding the fix for the messed up screw. And another round of cleaning again. I should have probably waited for this step for thorough cleanings, could have saved me a few minutes in the prior steps. I didn't expect the prior steps to create that much mess again.
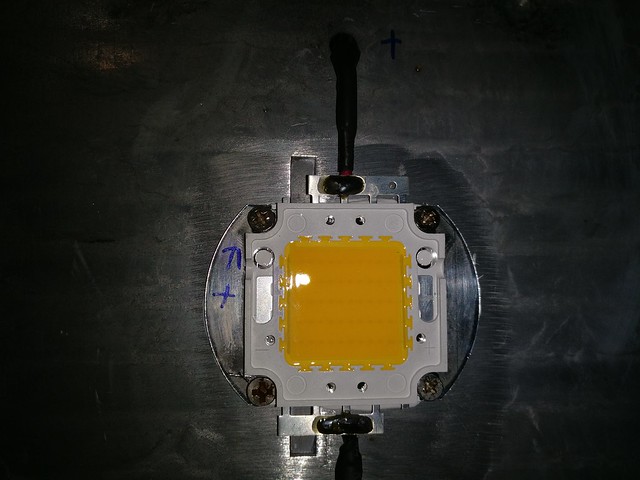
IMG_20170204_202017
IMG_20170204_202420

After that I did a visual check one last time if everything was tight and rigid, screwed in the reflector and screwed on the glass frame. Looked exaclty like before the repair procedure.

Result

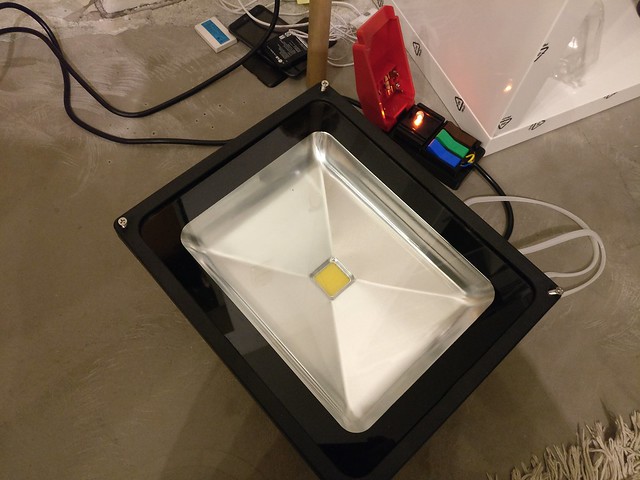
The (almost) final test was satisfying. The flickering/pulsation was gone and everything looked fine, just of course a bit brighter than with the old element. The following final test was to let it sit there turned on for two hours and check the temperature. The case didn't heat up too much, the light intensity didn't change and all individual LEDs in the LED element were still functional.
IMG_20170204_202847
IMG_20170204_202906

Conclusion

In the end the whole procedure did not only require a replacement LED element worth only a few € but I also had used more of my repair equipment than I expected. Of course the repair would have been possible with less equipment too but some steps would have required a bit more accuracy and patience. The repair attempt itself was successful and the floodlight is now working as expected. Probably even better than originally as I removed some loose solder balls and undertook measurements that the heat from the LED was dissipated as good as possible.
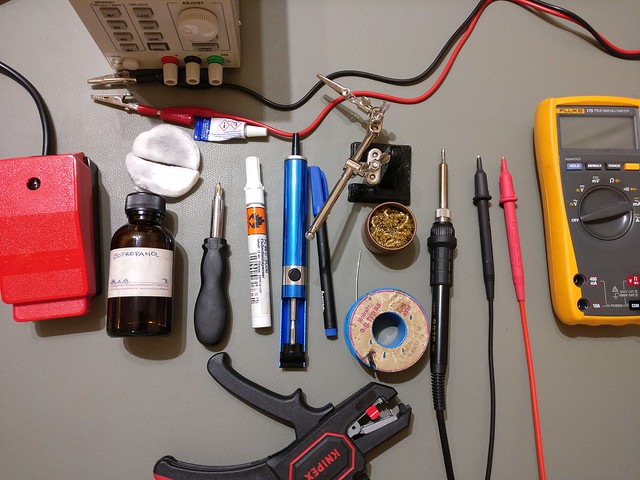
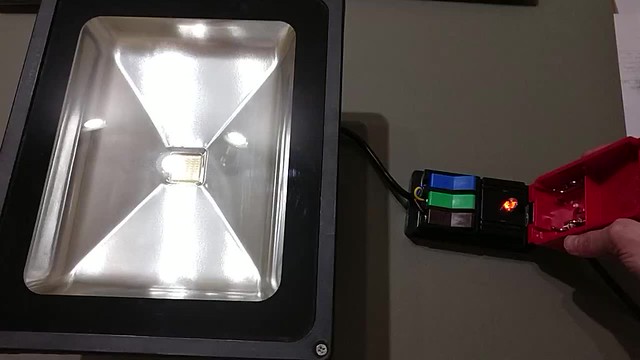
Used tools:
IMG_20170204_211826

  • power supply
  • banana plug wires and crocodile clips
  • solder station
  • solder (leaded)
  • solder sucker
  • multimeter
  • solder tip cleaner
  • solder flux
  • wire stripping tool
  • screwdriver with bit
  • isopropanol
  • cotton swabs
  • marker
  • thermal compound
  • third hand tool
  • Cliff Quick Test tool (for safe checking of bare wires with 220V supply)
|

March 1, 2017

Oh wow...

Who would have thought, that there will ever be another posting at this blog after such a long time of silence. Well, now the silence is broken again, at least for this post and hopefully some more in the future again.

So what was the main reason for the long silence? To make it short: the Repair Café in Graz. After the initial successes it really took of like no one of us expected. By end of Jan 2017 we held our 22nd Repair Café event in Graz. I'm pretty that our location organizes the biggest events in Austria with 145 repair attempts during the last event alone. While this keeps being exciting all the time it also takes quite a lot of time to organize one event and do all the behind-the-scenes stuff in between. And that's mainly the reason for my reduced online presence. We also helped several other locations in Styria to start their own Repair Café events and I'm always trying to be present at as many as my tight schedule permits. Furthermore we got in contact with officials and many other initiatives working on social and environmental topics.

Were there any other major changes apart from the Repair Café? Sure, too many to count. But for a glimpse and completely unsorted:

  • focus changed from computer/programming to repairing and hardware tinkering.
  • blog webserver has been migrated to new hardware and hosting platform, backend engine updated and upgraded to HTTPS
  • home heating system upgraded to include a proper buffer tank and access to the underlying control logic (squeezing out another ~30% efficiency compared to the state when the plumbers considered it finished)
  • at daily job: changed positions and project assignments at my employer a few times, always trying to not let loose on quality and security issues on each assignment

Well, that's it for now again. I hope I find the time to post more regularly in the future. Some interesting topics are already circling in the back of my head.

Update: I just realized that the last activity on this blog had been EXACTLY 3 years ago, almost to the hour. This was not planned but is a nice coincidence :)

|

February 19, 2014

One of my personal guidelines with computers and IT is that if I accidentally receive credentials or access possibilities to other people's accounts I do not take advantage of it without consent of the owner.

Usually I get access to such information because I'm fixing computer and software problems for friends, relatives and acquaintances. But from time to time I receive account information which I didn't subscribe or enter. In the past few years it started slowly but became more over time and shown a very specific pattern: it all involves one of my mail-accounts and it seems that there is somebody out there who has a very similar mail account with only a single letter difference. And this person seems to regularly create accounts and get its own mail-address wrong. Several attempts to notify this person or get into contact were unsuccessful. At one point I even got my hands on a phone number but I never reached anyone with it.

There are still too many services and websites out there which do not require a confirmation click via email but just create an account without checking if provided mail-addresses are correct. I wouldn't mind a single mail which I don't respond to and be through with it but life isn't that easy.

I'm now pretty much fed up with the constant notifications, reminders ("...please come back to XYZ...") and mails involving such erronous subscriptions to services and websites. Especially Facebook seems to be pretty stubborn and manages to escape my filters constantly but also a pile of gaming-accounts and logins to some other websites have accumulated.

In a short while I'm going to shut down all the accounts using my mail-address. For that I'm going to request a password-reset, log in to those accounts and deactivate them (if possible). I'll try to keep information sniffing at a minimum but if I see additional possible contact info maybe I'll do another contact try. Nevertheless all accounts which show no further activity (e.g. another credential reset by the "other" user) for some time then will be shut down permanently.

Gah, I hate to do this but you left me no choice...

Update 2014-03-01: Deleting a Facebook account is nothing short of complicated. All that Facebook offers (more or less) directly available is the possibility to deactivate your account. But this is in reality just snake oil as your account still exists and allows further logins and data profiling and just hides almost everything from others. To really and permanently delete your account one has to dig deep, and I mean really really deep, in Facebooks help and info pages to almost accidentially trip over this link:
https://ssl.facebook.com/help/contact.php?show_form=delete_account
With this link you can tell Facebook to really delete your account and all associated data which they at least promise to do after a 14 day cooldown period where you can still decide to change your mind. Which I won't do as I didn't even sign up myself in the first place...

|

January 12, 2014

A few days ago I have been told again that my blog lacks the 'Like' button. Since that has not been the first time that I received this request and I had a few spare hours yesterday I decided to give it a go.

But I didn't want to include the social networking buttons of the most common networks without further care. From other webpages I know that some 'Like' buttons add significantly to the load and display time of websites if they are not very multimedia intense. I consider my blog to exactly fall into that category and therefore I want to avoid to double page loading times just for adding some tiny icons. Furthermore, in the mist of the Snowden/NSA revealations, I do not want to the visits of my postings to be automatically tracked by a multitude of different companies all over the internet.

Granted, I use Google Analytics for tracking the visits to my blog and individual posts to find out which area draws the most interest and how much traffic in general is receiving at my blog, but I set the "anonymizeIp"-parameter in my tracking to disallow the storage of detailled visitor IP addresses for Analytics processing. Yeah, I know it's not 100% anonymous and you still have to trust Google to respect this setting independend of their promises, but for me that's the acceptable balance between cost and benefit.

Back to the social network integration. To value the visitors experience and proactively counter the NSAs tracking abilities I decided to use a 2-staged approach in my blog. This means to Like/Tweet/+1 one of my postings or see the number of tweets/+1's (doesn't currently work for FB) one has to "activate" the specific button with a single click in advance. If this activation is not performed, no data or request is sent to the respecting server/company.

In my blog I use the solution of the Heise publisher, 2 Klicks f�r mehr Datenschutz, which they provide free for usage on their project page. It took me some time to integrate it on my blog, mainly because the sourcecode which they provide is not compatible to recent versions of jQuery and already a bit out of sync with integration changes by the social network buttons. The version used on http://heise.de is more up to date but not yet reflected on its project pageI wrote a notice about that to the writers of the plugin but have only received an automatic reply so far. We'll see...

Nevertheless, the integration on my blog is finished so far and some other Javascript code has also received a small overhaul. The loading time of my pages shouldn't be too much affected, there is only a small visual inconsistency left. If you don't notice it, don't bother. Maybe I'll manage to fix it, otherwise not much harm is done, at least in my opinion.

|

January 9, 2014

At work I regularly stumble across a specific type of processing: sorting a collection/list and afterwards only retrieving the first or last element. Such code constructs are clearly for fetching the minimum or maximum element but sorting the whole collection for just a single item seems to be a bit of overhead. And indeed it is and the Collection class provides methods for these purposes without having to juggle items in memory and creating new collection objects which are never really required.


Advice

If you have a collection and want to retrieve the minimum or maximum element from it you don't have to sort it and retrieve the first or last but java.util.Collections offers its min() and max() methods for that which are much more efficient for that exact purpose. These can also be used with custom Comparators.

Code-Example

Before

// retrieve smallest element
Collections.sort(elementList);
Element smallest = elementList.get(0);    
...
// fetch item with highest custom value
Collections.sort(customItemsList, Collections.reverseOrder(new MyCustomComparator()));
Item largestItem = customItemsList.get(0);

After

Element smallest = Collections.min(elementList);    
...    
Item largestItem = Collections.max(customItemsList, new MyCustomComparator());

Benefit

Readability gain. Possible huge performance gain, as min()/max() run in O(n) while sorting takes O(n log(n)).

Remarks

If the comparison methods (compare(), equals()) do not fulfill the Comparator requirements according to the Java SDK (see here) (i.e. A.equals(B) != B.equals(A) or (A<B)!=(B>A), etc.) then the result of min()/max() may be different than the result from the approach using sorted collections.

|

January 3, 2014

Happy New Year! I planned to have a blog post finished before 2013 ended but this didn't work out. Hopefully this one compensates that a bit.

A little while ago I began preparing another post in my series of Java Tips. Well, this posting is still due but for now I can present you another one where I give a short look on some investigation the preparation of this Java tip required.

It originated in a couple of Sonar warnings on one of our development systems on my job. Specifically the warning about the inefficient way of converting a number to String spiked my interest and I began evaluating the places where these warnings showed up. The warning itself told that there were conversions of numbers to Strings in the form of

String s = new Integer(intval).toString();

which should be better expressed from a performance point of view as

String s = Integer.toString(intval);

Some time during this investigation I became curious if there is really a large effect between the different solutions and wrote a short test case which measured the time of different ways of converting an Integer to a String. Interestingly it did not exactly turn out as clear as I hoped. Initially it seemed that the error claim did not match the reality as my testcase did not show a clear performance advantage of any specific solution. Most ways of converting values to strings were pretty close to each other and the results varied with each execution a bit so I considered this to be mainly a measuring inaccuracy.

// Results with 100000 invocations of each method, timed using System.nanoTime()
new Integer(int).toString()      : 7075890
String.valueOf(int)              : 6570317
Integer.valueOf(int).toString()  : 9597342
Integer.toString(int)            : 11398929

With those combined results I could have been satisfied and discard the Sonar warning as just some hint to write more readable code. But something didn't feel right and after some time I had another look at this. Especially the last measurement looked quite odd. What was the difference between a static call (line 4) and a method call on a new object (line 1) so that the results are about 25% apart. And if so, why is the static call the slower one? Using the Java Decompiler Eclipse plugin I inspected the underlying source. I could have used the the source search engines available elsewhere (e.g. GrepCode) but that was just too cumbersome for a quick investigation and not safe to reflect the actual (byte-)code used. The decompiled source of java.lang.Integer made the observed difference even more mysterious.

...
public String toString()
{
  return toString(this.value);
}
...
public static String toString(int paramInt)
{
  if (paramInt == -2147483648)
    return "-2147483648";
  int i = (paramInt < 0) ? stringSize(-paramInt) + 1 : stringSize(paramInt);
  char[] arrayOfChar = new char[i];
  getChars(paramInt, i, arrayOfChar);
  return new String(arrayOfChar, true);
}
...

Ok, so the call on toString() on a new Integer object is in turn jumping to the static toString(int) method? In that case my previous measurements must have been influenced by something else than just the sourcecode itself. Most probably some effects from JIT compilation by the HotSpot JVM. And therefore the measurements were not usable until I made the effect of JIT compilation neglectable. What's the easy way of making JIT compilation a neglectable factor in measurements? Crank up the number of iterations of the code to measure. The 100k iterations in my first test ran in a mere seconds, maybe not long enough to properly warm up the JVM. But after increasing the iteration count by a factor of 1000 (taking significantly longer to run) following numbers were the result:

// Results with 100000000 invocations of each method, timed using System.nanoTime()
new Integer(int).toString()      : 6044546500
String.valueOf(int)              : 6052663051
Integer.valueOf(int).toString()  : 6287452752
Integer.toString(int)            : 5439002900

Raising the number of iterations even more did not change the relative difference between the numbers much so I think at that stage JVM and other side effects are small enough to not change the execution speed significantly. It also better fits to my expectations of the running costs when roughly brought into correlation of the execution path, logic executed and functions called of each individual conversion variant.

At that point I'm pretty confident that I now better understand the reasons for the initial Sonar warning and that the static method call is roughly 10% faster than calling toString() on newly created objects. And that's even without burdening an additional Integer object to the garbage collection which at a later stage takes some additional time to clean up.

Of course, I'm aware that this is a topic which dives deep into the micro-optimization area. On the other side it can be boiled down pretty easily to using certain methods in favour of other methods, as there is no drawback on safety or functionality and at the core the same static method will be called anyway. Furthermore, ignoring simple performance and memory optimizations may not affect you on small scale like client applications or Java applets but may be pretty relevant on larger (server) systems or even time-critical installations. For a more detailled description why this is relevant on server systems and how it affects throughput and garbage collection times see this excellent list of Java Anti-Patterns.

|

November 3, 2013

Sorry again for the lack of updates. There have again been several important personal things to deal with which took their time and did not leave enough spare time for something else. Among these were (and still are) things like helping my brother and his girlfriend moving to their new home or trying to organize and compare offerings for a thermal energy storage upgrade of the heating system in my home.

But for me personally most important was the unexpected gain of popularity and need for communication related to the RepairCafé. This has been caused by a full-page newspaper article that was published a few weeks after our second RepairCafé. After that article there have been numerous contact requests and inquiries. Apart from simply explaining details of the RepairCafé this also involves networking and bringing people in touch with each other for cooperative intermediate repairs. Furthermore we're working on enhancing our online presence and planning future events.

We decided for now on an RepairCafé event every other month, with Nov. 23rd being our next date. Additionally we're planning a coop-event with the environmental department of Graz the day before. As this coop-event will take place at a shopping center it will be a large public appearance and there are numerous things to prepare for that. One of the things is to organize some helpers which can be present there and cover the whole day as well as finishing up our homepage and preparing some material to show at the event.

Bear with me, I'm trying to come up with more postings but time is currently a rare gem again.

|


Older blog postings

Archives